After getting down my Features and Requirements for the site and making my Design Choices, this is the process I followed to finally set up my site.
Quartz already has a pretty good documentation page that covers all the basics. However there’s a few areas where I feel the documentation could be improved, so I decided to document my process as if it were a tutorial for future reference and so anyone else might benefit.
Between requirements, design, and putting together this tutorial, it’s taken me a total of 7 hours from conception to deployment.
Here we go:
1. Clone the repository locally
git clone https://github.com/jackyzha0/quartz.git2. Get inside the folder and install the required node packages:
cd quartz
npm i
3. Initialize Quartz
If you’re unsure what this means, don’t worry, I’m right there with you.
npx quartz create4. Configure Quartz to your preferences
The documentation does a pretty good job of explaining what this step is about. There’s some variables that have to be edited in your quartz.config.ts file such as:
pageTitlewhich needs to change fromQuartz 4.0to whatever we want. In my case it’sElahi's Site(might change in the future)analyticstonull: I’m curious about views but not enough to pay for an analytics service or use the privacy-unfriendly Google Analytics.baseUrl: The base URL of your site. More on that later.ignorePatterns: Patterns to be ignored when looking inside thecontentsfolder, which is where all of your documents to be uploaded should live. This is useful if you’re considering having all of your Obsidian vault reside inside the contents folder.defaultDateType: I chosepublishedbecausecreatedandmodifiedseemed like bad options, but to be honest I still don’t know exactly what it means.theme: I might need this in the future, but as I mentioned in my Design Choices I’m not going to spend time customizing this yet.
5. Fork Quartz on GitHub
This is one point that I found confusing about the Quartz documentation and had to kind of figure out by myself. The repository that will be hosting your GitHub page won’t be the typical {username}/{username}.github.io.git repository, but a fork of the Quartz project.
That being said, that’s my own choice and you could have your Quartz project be a directory of your GitHub page like {username}.github.io/quartz or {username}.github.io/notes if you prefer.
6. Create a deploy.yml file in your local Quartz
The file should be in quartz/.github/workflows/deploy.yml.
Alert! quartz/ means the main directory of the cloned repository, not quartz/quartz/. I lost a few minutes to that one.
Here’s what the deploy.yml file looks like:
name: Deploy Quartz site to GitHub Pages

on:
  push:
    branches:
      - v4

permissions:
  contents: read
  pages: write
  id-token: write

concurrency:
  group: "pages"
  cancel-in-progress: false

jobs:
  build:
    runs-on: ubuntu-22.04
    steps:
      - uses: actions/checkout@v3
        with:
          fetch-depth: 0 # Fetch all history for git info
      - uses: actions/setup-node@v3
        with:
          node-version: 18.14
      - name: Install Dependencies
        run: npm ci
      - name: Build Quartz
        run: npx quartz build
      - name: Upload artifact
        uses: actions/upload-pages-artifact@v2
        with:
          path: public

  deploy:
    needs: build
    environment:
      name: github-pages
      url: ${{ steps.deployment.outputs.page_url }}
    runs-on: ubuntu-latest
    steps:
      - name: Deploy to GitHub Pages
        id: deployment
        uses: actions/deploy-pages@v2
7. Set up GitHub Actions as the source of your GitHub Page
We have to tell GitHub that the script above is where we’ll be getting our page from. To do so we need to:
- Go to the forked Quartz repository on GitHub.
- Go to “Settings”, then look for “Pages” in the sidebar.
- Under “Source”, select “GitHub Actions”.
- In the local repository, commit the changes by doing
npx quartz sync. - Make sure everything worked by going to
{username}.github.io/{repository-name}
8. Add a custom domain to redirect from github.io
This is what I found to be the trickiest part, as there’s a lot of moving pieces. First, we need a custom domain. You can grab one in Namecheap or name.com if you’re a student and have claimed your GitHub Student Developer Pack (which I mentioned doing in my Design Choices). Otherwise, this is where you have to take out your wallet and lay down some cash. You can find domains for as cheap as twenty cents a year on some services like the aforementioned ones, but I’ll let you do your own research because this isn’t an ad.
I chose elahi.me as my custom domain and if all went well this is what you’re seeing in your browser. I chose this option because it was the best of the provided free options and I seem to be a bit of a narcissist. I also didn’t feel like elahi.accountants reflected who I want to present myself as a person.
Now, to let GitHub know of your newfound cool domain:
- Go to the forked Quartz repository on GitHub.
- Go to “Settings”, then look for “Pages” in the sidebar.
- Type your new domain under “Custom Domain” and click “Save”.
The next step is different depending on your DNS provider, as it requires letting them know to redirect your new domain to your GitHub page. For me, I used Namecheap, so this is what I’ll show. Their own tutorial might be helpful for this step.
- Log in to the “Account” section on the main Namecheap site.
- On your dashboard, find your recently acquired domain and click “Manage”
- On the “Manage” tab, click “Advanced DNS”.
- You’ll see a (probably barely filled) list of records followed by an “Add New Record” button.
- Click the button (you can do it!)
- Add an
Arecord with the GitHub Pages IP addresses , which at the time of writing are:
185.199.108.153
185.199.109.153
185.199.110.153
185.199.111.153
Note: You shouldn’t trust strangers on the Internet that tell you to add potentially random IPs to your custom domain’s DNS records. Verify that these are indeed the correct IPs by using the link above or, even better, find the information by yourself.
Namecheap warns that changes to the DNS records might take a while so be patient and cross your fingers for the next step.
9. Check that everything is working correctly
Now for the final test. If you’ve followed these instructions AND crossed your fingers correctly, there shouldn’t be any problem, as I can confirm these have worked for me. Let’s make sure everything is up and running:
dig {DOMAIN NAME}For me it was dig elahi.me. This command should return an A (as in, top marks) record followed by one of GitHub’s IP addresses seen above.
Before going to your shiny new page, make sure to commit and push any changes by doing:
npx quartz sync
Now the final, most beautiful test: Go to your browser and enter your newly acquired domain name. If you see something like this:
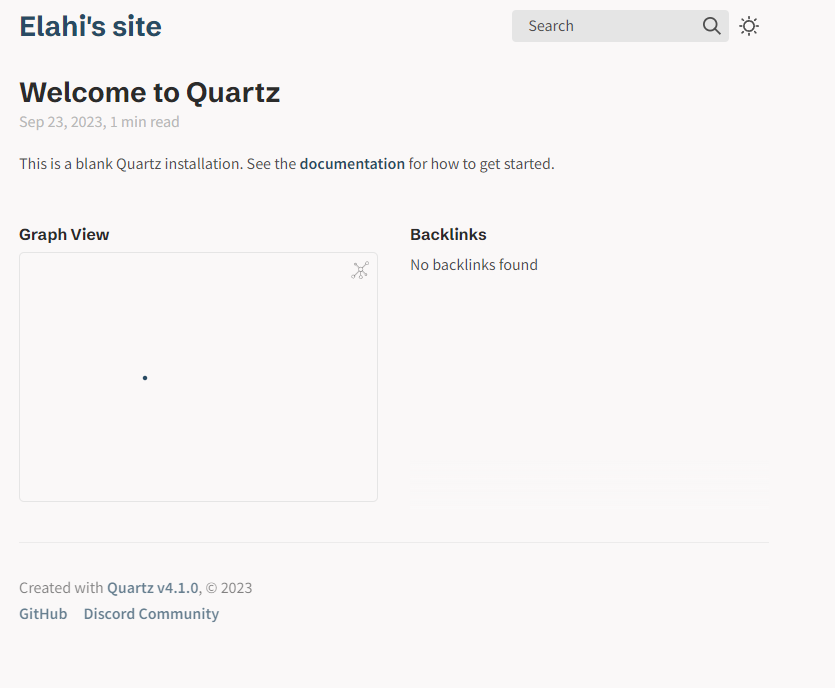 Congratulations! You have your own site.
10. Publish your first article
This would be a tall order if you were a grad student. Luckily no one here is, so all we have to do to publish an article is move some files around and paste some commands into the console.
- Go over to your local Quartz repo and go to the
contentdirectory. - Create a markdown file and type anything.
- Build your Quartz page again:
npx quartz build- Commit and push:
npx quartz sync- Wait a couple of minutes (deploying to GitHub pages is not instant), then go to your page.
You should see your newly created file in the “Explorer” panel on the left.
11. Enjoy! But also keep going
No rest for the weary. Now you can get to work on Customizing a Quartz-Powered Portfolio Site and Automating a blog workflow from Obsidian.